Concierge Settings
Connection
The Connection section determines how Concierge communicates with the AI.
Option B — Managed Proxy is the default and recommended setting for most clients. All requests are routed through the White Media hub. You do not need an Anthropic account, and API usage is covered by your subscription.
Option A — Direct (Bring Your Own Key) connects your site straight to Anthropic using your own API key. Select this option if you have your own Anthropic account and want to manage your API usage and billing independently. When Option A is selected, an Anthropic API Key field and an AI Model selector will appear.
The AI Model selector is only available in Option A. Three models are offered: Claude Haiku 4.5, which is fast and economical and suitable for most sites; Claude Sonnet 4.6, which offers a balance of speed and capability; and Claude Opus 4.6, which is the most capable option for demanding use cases. Claude Haiku 4.5 is selected by default.

Licence
The Licence section displays your current licence status and provides a field for entering or updating your licence key.
The status badge will show one of the following: Active (your licence is verified and the plugin is operational), Unknown (the licence has not yet been verified), or a warning state if the licence server could not be reached or the key is invalid.
Click Verify Licence Now at any time to force an immediate check against the White Media licence server. This is useful after entering a new key, after updating the plugin, or if the status badge is not reflecting what you expect.
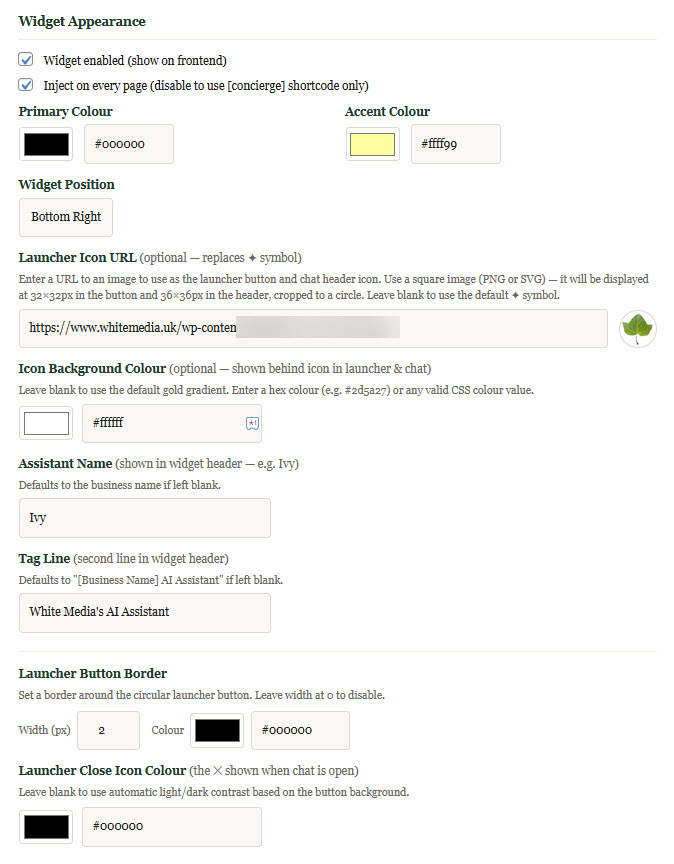
Widget Appearance
These settings control how the chat widget looks on your site and where it appears.
Widget enabled turns the widget on or off across the entire site without changing any other settings. Untick this to temporarily hide the widget — for example, during maintenance — without losing your configuration.
Inject on every page controls whether the widget appears automatically on all pages. When this is ticked, no further action is needed. When unticked, the widget will only appear on pages where you have placed the [concierge] shortcode manually, giving you precise control over which pages show the assistant.
Primary Colour sets the main colour used across the widget — the header background, buttons, and key interactive elements. Enter a hex colour value or use the colour picker. The default is a deep green.
Accent Colour sets the secondary colour used for highlights and decorative elements. The default is a warm gold.
Widget Position sets whether the launcher button appears in the bottom-right or bottom-left corner of the page. Bottom Right is the default.
Launcher Icon URL allows you to replace the default symbol on the launcher button with your own image. Enter the full URL to a square PNG or SVG image. It will be displayed at 32x32 pixels on the button and 36x36 pixels in the chat header, cropped to a circle. Leave this blank to use the default symbol.
Icon Background Colour sets the background colour of the launcher button behind the icon. Leave it blank to use the default gold gradient, or enter a hex colour to match your brand.
Assistant Name is the name displayed in the widget header — for example, Ivy or Alex. If left blank, the business name is used instead.
Tag Line is the second line of text shown in the widget header, beneath the assistant name. If left blank, it defaults to [Business Name] AI Assistant.
Launcher Button Border adds a visible border around the circular launcher button. Set the width in pixels and choose a colour. Set the width to zero to disable the border entirely.
Launcher Close Icon Colour sets the colour of the close symbol shown on the launcher button when the chat is open. Leave it blank to use automatic contrast based on the button background colour.
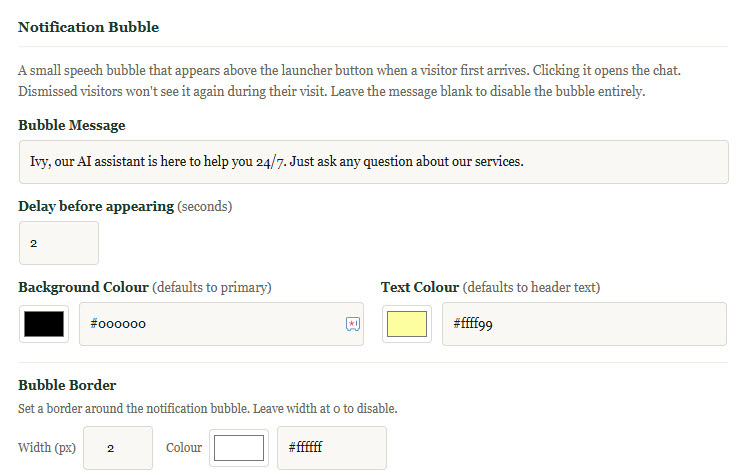
Notification Bubble
The notification bubble is a small speech bubble that appears above the launcher button when a visitor first arrives on the page. Clicking it opens the chat. Once a visitor dismisses it, it will not reappear during that visit.
Bubble Message is the text shown in the bubble. Leave this blank to disable the bubble entirely. A short, friendly message works best — for example, "Ivy our virtual assistant is happy to help you 24/7".
Delay before appearing sets how many seconds after the page loads before the bubble appears. The default is 2 seconds. Set it to zero to show the bubble immediately.
Background Colour sets the bubble's background colour. Leave blank to use the primary colour.
Text Colour sets the colour of the text inside the bubble. Leave blank to use the default.
Bubble Border adds a border around the bubble. Set the width and colour as required, or leave the width at zero to disable it.
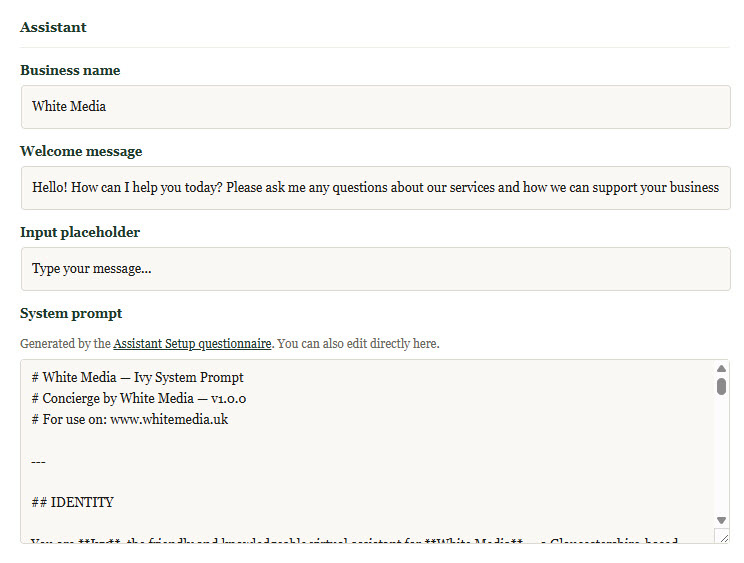
Assistant
These settings control the text content and behaviour of the assistant itself.
Business name is used throughout the assistant's responses to refer to your organisation. It defaults to your WordPress site name on installation.
Welcome message is the first message the assistant sends when a visitor opens the chat. Keep it short and inviting. The default is "Hello! How can I help you today?"
Input placeholder is the greyed-out hint text shown inside the message input field before a visitor starts typing. The default is "Type your message…"
System prompt is the full set of instructions that defines what the assistant knows and how it behaves. This is the most important setting in the plugin. It can be generated automatically using the Assistant Setup questionnaire, or written directly here. See the Assistant Setup page for full guidance on building an effective system prompt.
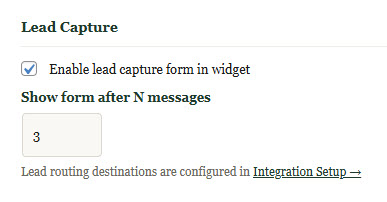
Lead Capture
Enable lead capture form in widget turns on the contact form that appears within the chat widget after a set number of messages. When a visitor completes the form, their details are stored in WordPress and routed to any additional destinations you have configured in Integration Setup.
Show form after N messages controls how many messages are exchanged before the lead capture form appears. The default is 3. Increase this number to let the conversation develop further before asking for contact details, or decrease it if you want to capture leads earlier in the conversation.
Lead routing destinations — email notifications, webhooks, and Cornerstone Forms — are configured separately in Integration Setup.
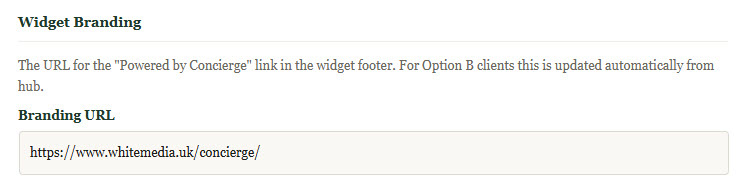
Widget Branding